How to Create Latte Art: A Step-by-Step Guide for Beginners in 2025
Keywords: how to make latte art, beginner latte art guide, milk frothing tips, espresso pouring, latte designs at home, Heypresso portable coffee
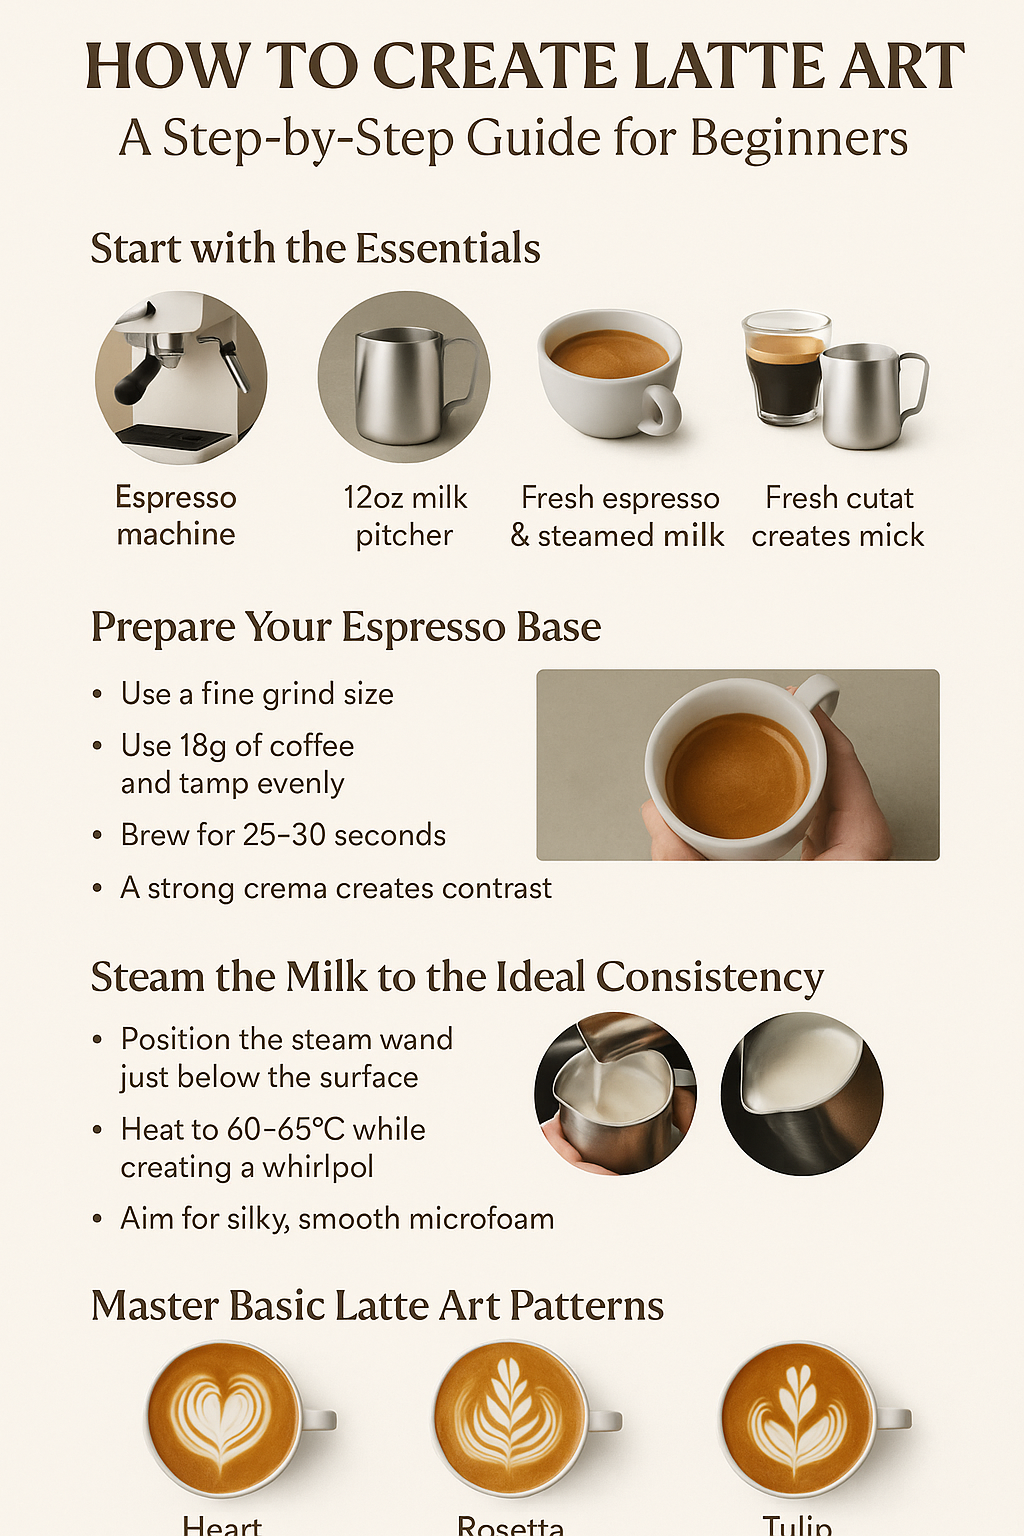
Creating latte art at home is easier than it looks — and far more rewarding. Whether you’re a complete beginner or you’ve already pulled your first shot with a Heypresso portable espresso machine, learning how to steam milk properly and pour with precision will instantly elevate your coffee game.
From hearts to rosettas, here’s how to master the basics of latte art step by step.
☕ What You’ll Need to Get Started
Essential Tools:
-
Espresso Machine – You need one with a steam wand (like Heypresso’s portable model)
-
12 oz Milk Pitcher – For precise pouring and temperature control
-
Fresh Espresso & Milk – The better your base, the better your art
☕ Step 1: Brew the Perfect Espresso
A rich, golden crema is what makes latte art “pop.” Start with:
-
Fresh, medium to dark roast beans (roasted within 30 days)
-
Fine grind (like table salt)
-
18g dose for a double shot
-
Extraction time: 25–30 seconds
-
Look for a thin, steady stream like honey dripping from a spoon
Pro Tip:
Use a scale (aim for 36g yield), and preheat your portafilter for consistency.
🥛 Step 2: Steam Your Milk Like a Pro
The Goal: Silky, glossy microfoam — not bubbly cappuccino foam.
-
Start with cold milk (whole milk or barista-style oat milk work best)
-
Submerge the steam wand just below the surface at a 15° angle
-
Create a whirlpool — smooth spin, no loud hissing
-
Heat to 60–65°C (when the pitcher becomes hot to the touch)
-
Swirl the pitcher to smooth out bubbles, tap gently on the counter
Texture Test:
The milk should resemble wet paint or liquid chrome — shiny and smooth.
🎨 Step 3: Pour Your First Patterns
Once your espresso is ready and milk is frothed, it’s time to pour.
Pattern 1: The Heart
-
Tilt the cup 45°
-
Pour into the centre steadily
-
As the cup fills, lower the pitcher closer to the surface
-
Push slightly forward, then pull back through to create the point
Pattern 2: The Rosetta
-
Start as if making a heart
-
Move the pitcher side-to-side as you pour
-
Pull back through gently to create the stem
Pattern 3: The Tulip
-
Pour a series of small dots in the centre
-
Each dot should land behind the previous one
-
Pull a thin stream through all the dots to finish
🧠 Common Mistakes (and How to Fix Them)
-
Patterns sinking? Pour too slow. Increase flow rate slightly.
-
Blurry shapes? Your milk isn’t textured properly.
-
Uneven designs? Tilt your cup consistently and stay close to the surface.
-
Milk splitting? It’s either overheated or plant milk not designed for frothing.
🌟 Ready to Go Further?
Once you’ve nailed the basics, try more advanced designs like:
-
Swan: Rosetta + Heart + Curved line = graceful finish
-
Phoenix: Centre rosetta with wings and tail flick
-
Crown of Hearts: A series of perfect little hearts forming a full ring
These require a steady hand, excellent microfoam, and most importantly — patience.
☕ Final Sip: Your Latte Art Journey Starts Here
Mastering latte art is about practice, precision, and a little creativity. Start simple, focus on good espresso and silky milk, and you’ll be amazed how quickly your patterns improve. Whether you’re sipping solo at home or impressing mates on a camping trip with your Heypresso machine, a little latte art makes every cup feel special.
📸 Don’t forget to share your designs with us on Instagram — tag @hey.presso and show off your best heart, rosetta, or tulip!


Leave a comment
This site is protected by hCaptcha and the hCaptcha Privacy Policy and Terms of Service apply.